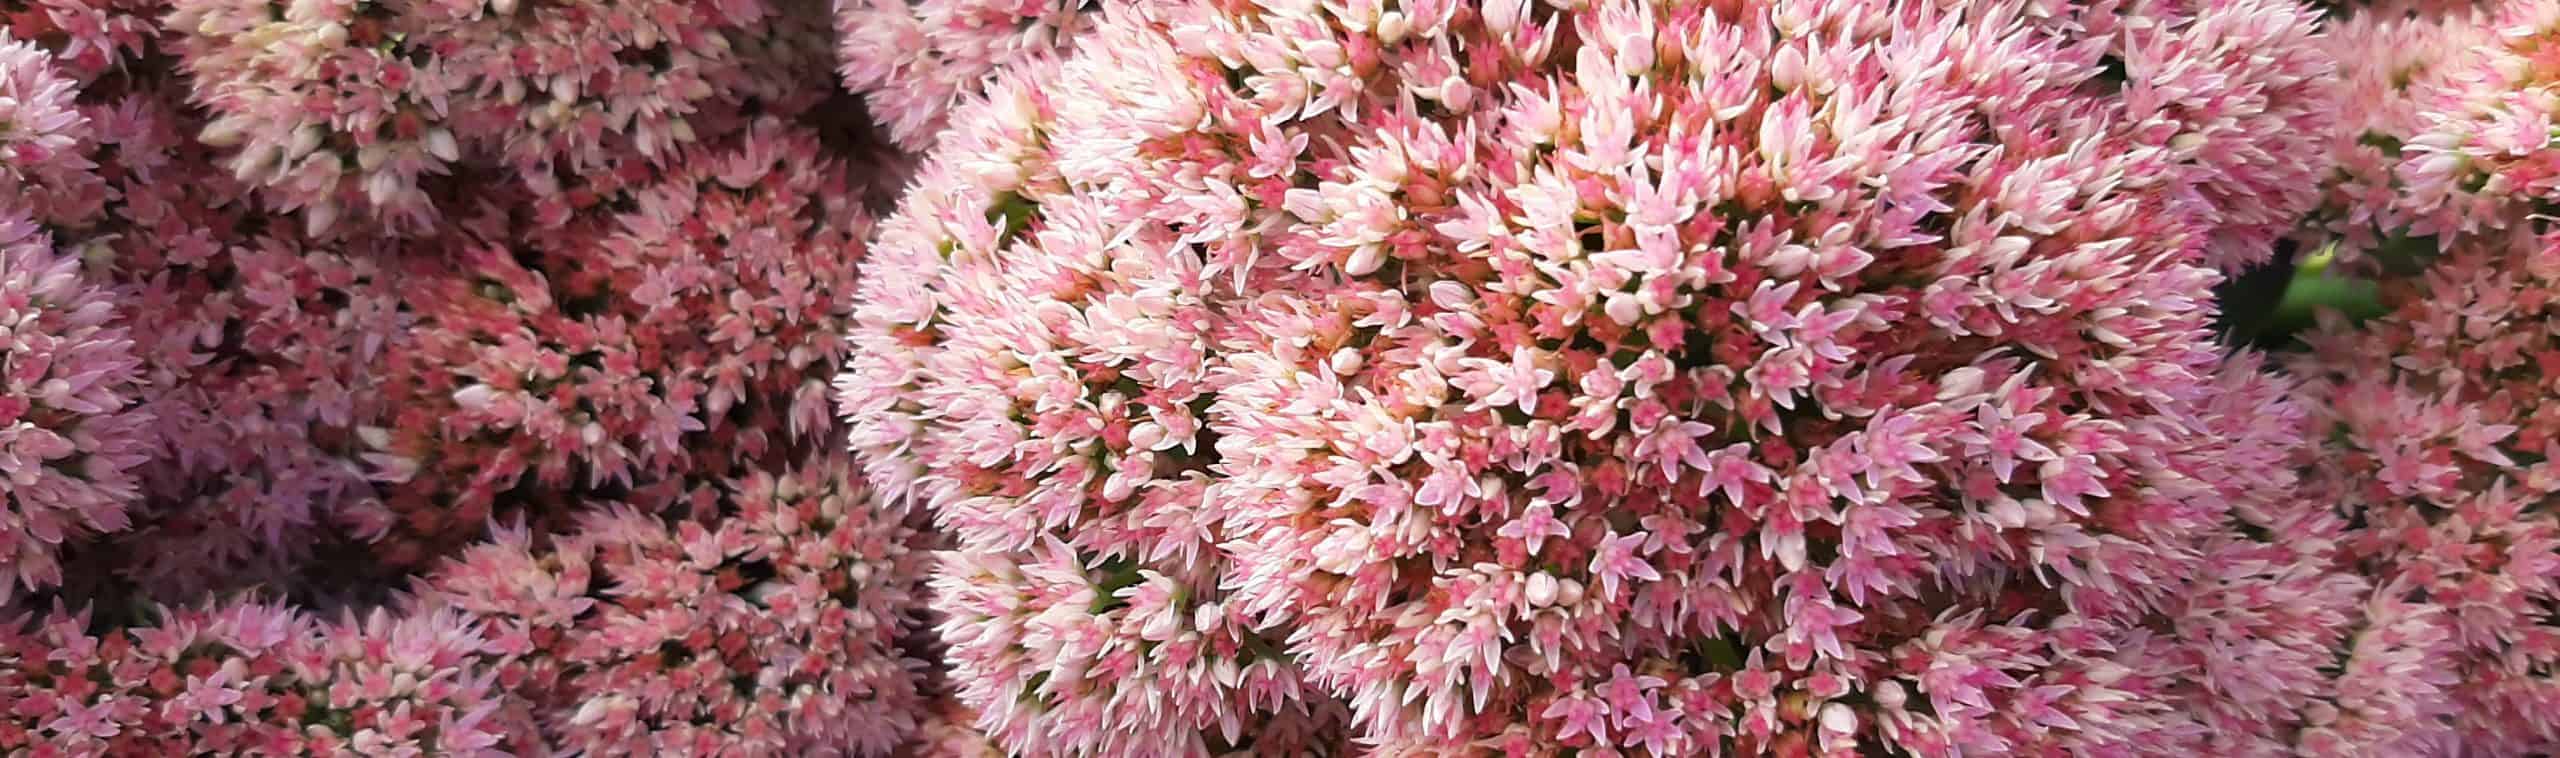
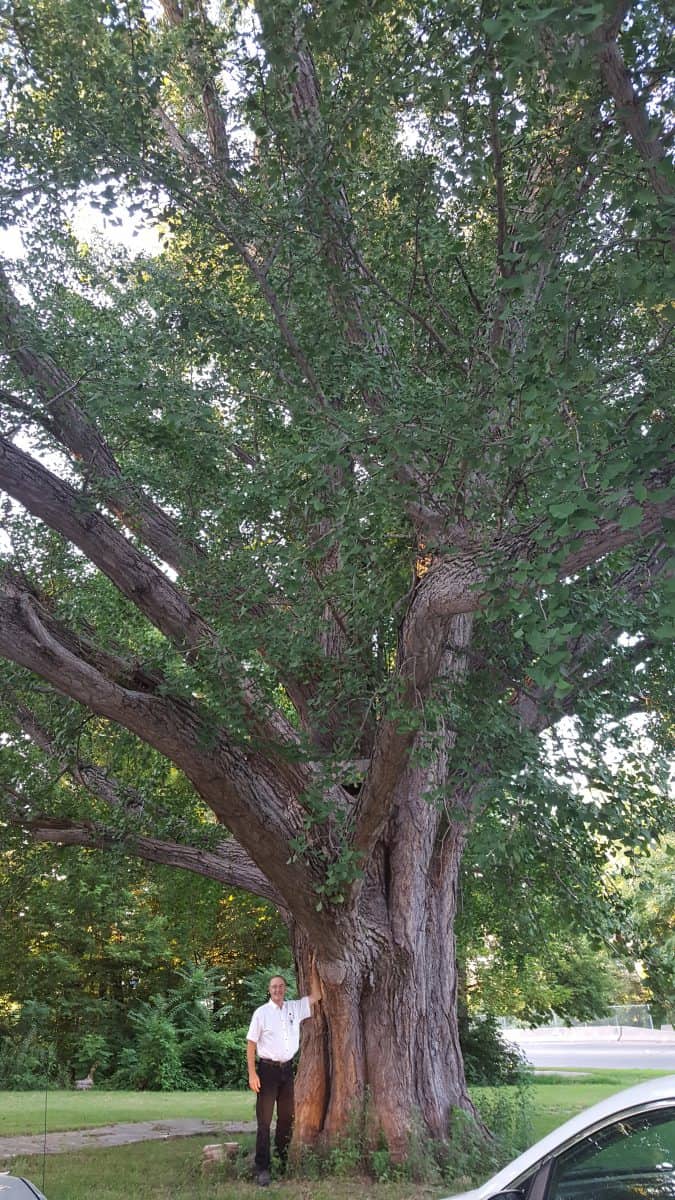
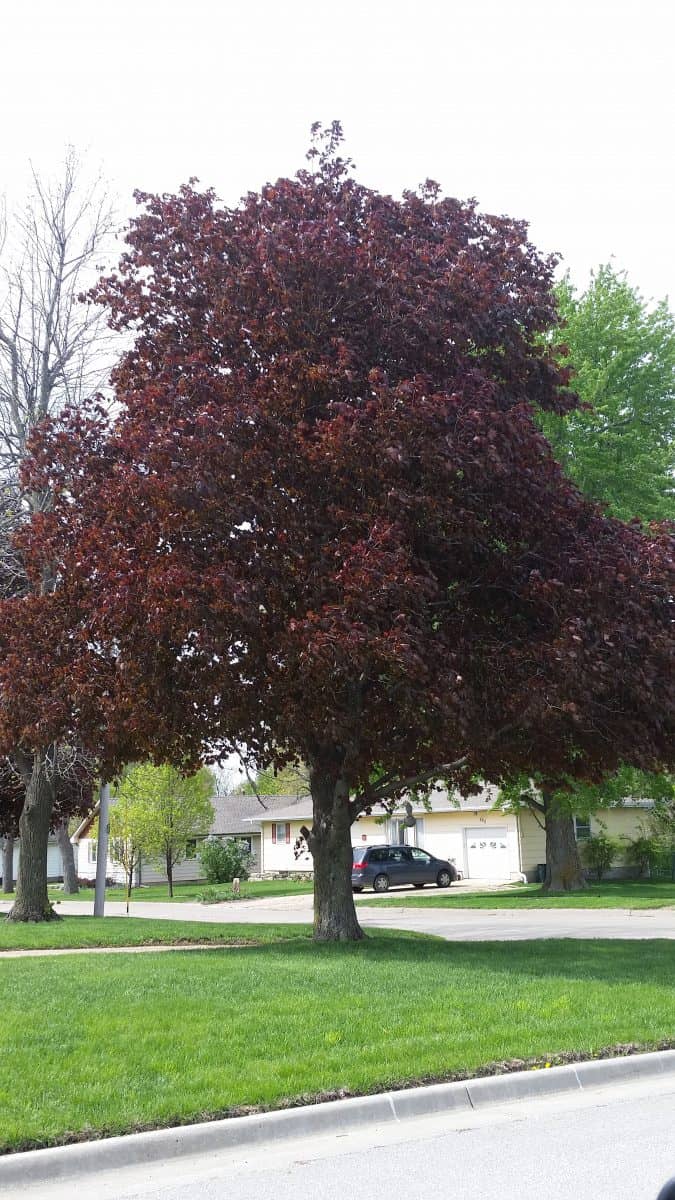
“Life is a shade better under a tree”. I mentioned this quote used by Grimm’s Gardens founder Doug Grimm in last week’s post on trees for autumn. Trees are amazing things; they provide us with shade, shelter, lumber, food, and much more. Planting and growing trees has been at the foundation of Grimm’s Gardens, and we love trees.
This post will be in 3 parts; this week on planting and maintaining the growth and habit of trees, and the next 2 weeks on major pests and diseases of trees in the Central Great Plains and Midwest regions. Let’s get started!
Planting Trees
Before we think about planting trees, we need to decide where it is going, what kind of requirements it needs, and when to plant. If you have a specific tree in mind, you should already be thinking about where to plant it.
When is the best time to plant a tree?
It has been said that the best time to plant a tree is 20 years ago, and the second best time is now. Depending on your location in the world, the best time may vary on the season.
Here in the Central Great Plains, the best time to plant deciduous trees is in autumn, between September and November, before the ground freezes. This is because soil temperatures are warmer than in the spring, and roots will continue to root in and develop after planting. Also, there is less stress on a semi-dormant tree when planting than a fully-leafed out tree.
Evergreen trees are best planted in springtime. This is because of winter desiccation of evergreen needles and leaves. Winter winds often dry out evergreen needles and cause the tree to lose moisture and brown. This can lead to the death of the tree. If you have to plant an evergreen in autumn or later, use an anti-desiccant such as Wilt-Pruf on the leaves.
Location for Your Tree
If it is a larger shade tree, it will need room away from the house, outbuildings, and power lines. Smaller, ornamental and fruit trees can be located closer to buildings and under some power lines.
Does your tree bear fruit, such as apples, serviceberries, or crabapples? If so, then you may want to place these trees away from concrete driveways, sidewalks, houses (gutters), and swimming pools to avoid messy cleanup. Some shade trees also produce messy fruit. These include silver maple, sweetgum, sycamore, ash, and oak.
Before you plant or dig, call Dig Safe and have your water, sewer, gas, and other service lines clearly marked. You do not want to plant a tree near a gas line that may leak and kill the tree. Also, it is unwise to plant long-lived trees in city right-of-way locations that may be dug up.
Some trees need protection and shade when they are young, but can handle full sun and wind when full grown. These trees include pawpaw, dark-leaved maples, and Norway spruce.
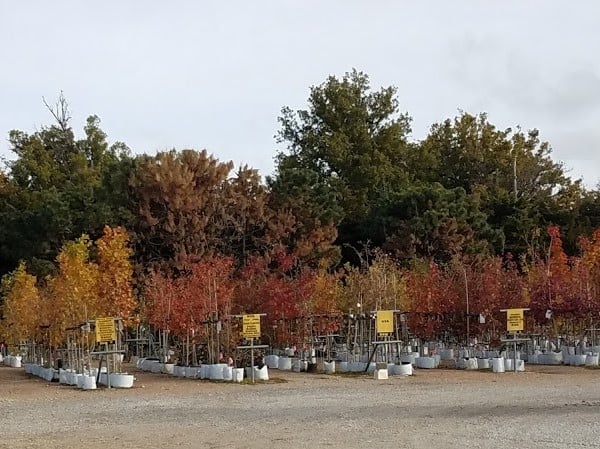
Choosing a Tree in the Nursery
When you are ready to head to the nursery, keep in mind these tips for choosing a tree.
- If choosing a shade tree, look for straight trunks with a strong central leader
- Check the trunk for scars or sun-scalded areas
- Try to find a nursery that uses grow-bags instead of black plastic pots
- Look for dark green leaves with no discoloration or blotching
- Check the pot to see if it has wear or age signs to it – some nurseries keep trees for many years in the same pot without bumping up to a bigger size each year
- Lift the tree with the bottom of the trunk to see if it is well-rooted in the container
- If choosing a bare-root tree, make sure they have been kept well-watered
- Ask for an arborist or horticulturalist to assist you if one is available
- Choose trees that are in a 5 to 15 gallon grow-bag, these will root in the fastest with the least amount of watering and after-care
Digging the Hole
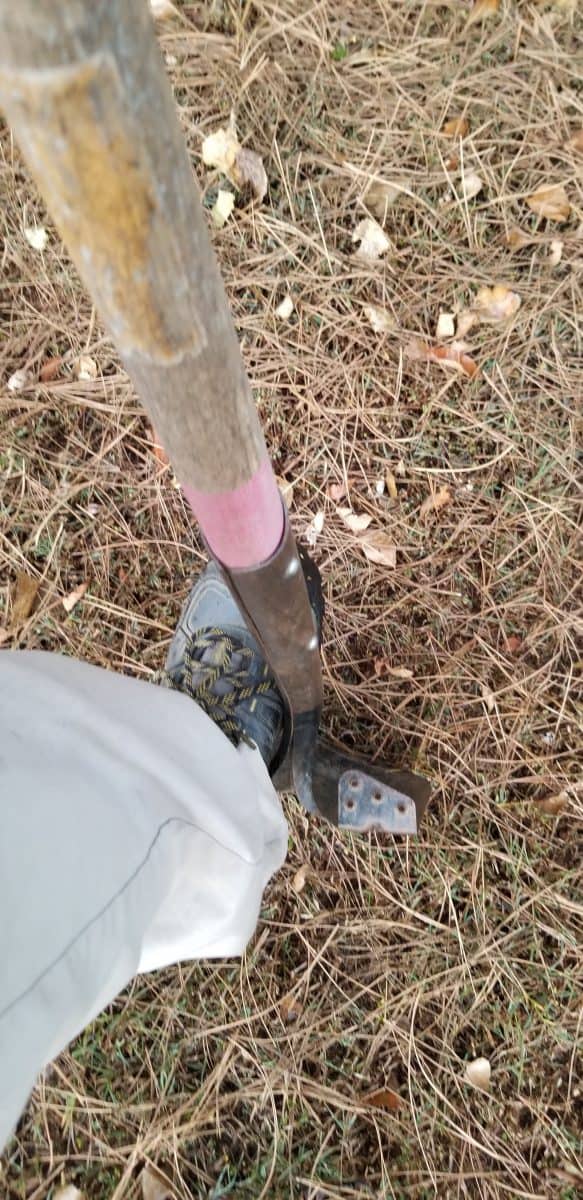
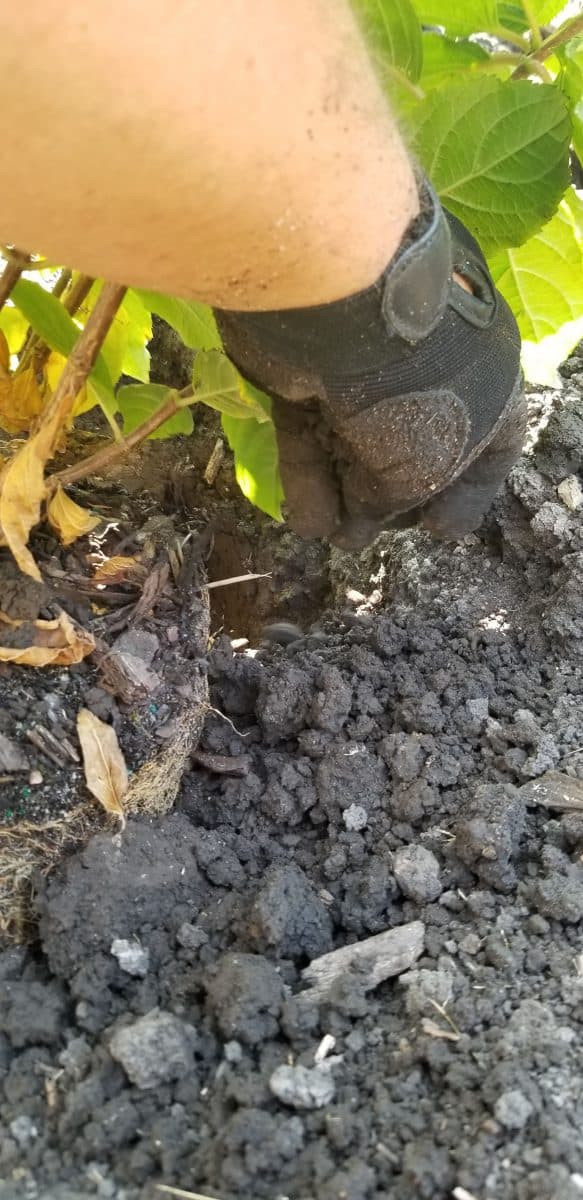
Now that you have your tree and the location for it, it is time to dig the hole. Use a sharp, round-point shovel to dig your hole. If you are planting more than 10 trees, such as in a windbreak, it may be necessary to rent an auger for a tractor or mini-loader. When using an auger, scratch the sides of the hole afterwards with a shovel or pitchfork to roughen the smoothness (this makes for better soil to root contact).
Dig the hole to the depth of the pot/container from the bottom to the soil line in it. See diagram below.
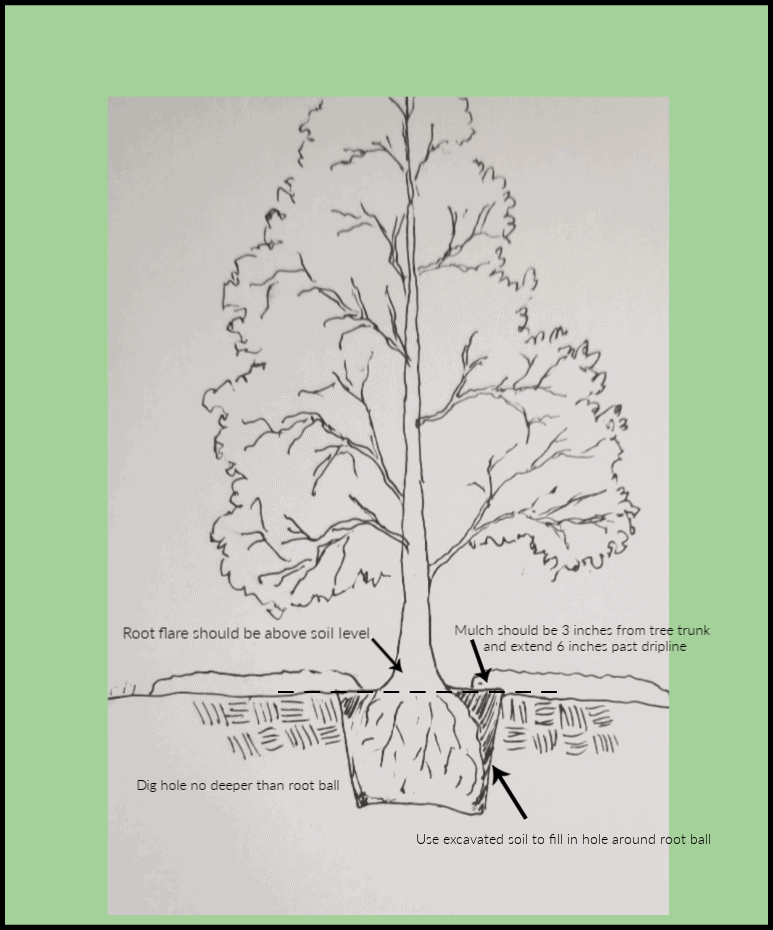
The hole should be just wide enough to put the whole root ball in the ground, with a few inches on each side. You do not need to dig the hole 2x as wide and deep as the root ball, this is outdated information. The roots of the tree will adapt and go into the soil sooner if there is less broken material to go through. Do not add compost or other soil amendments.
Planting Your Tree
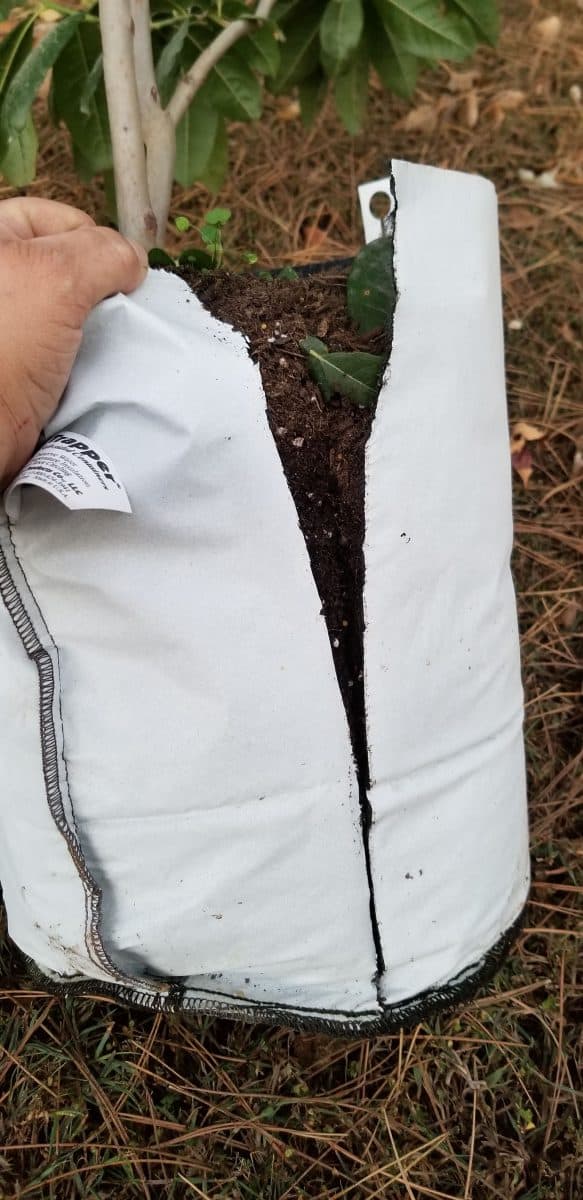
Now your hole is dug and you are ready to plant the tree in the ground. If your tree is in a grow bag, cut the bag downward and across the bottom of the root ball, then pull the bag off and throw away. You can now add fertilizer or rooting hormone to the hole or root ball, but it is not necessary.
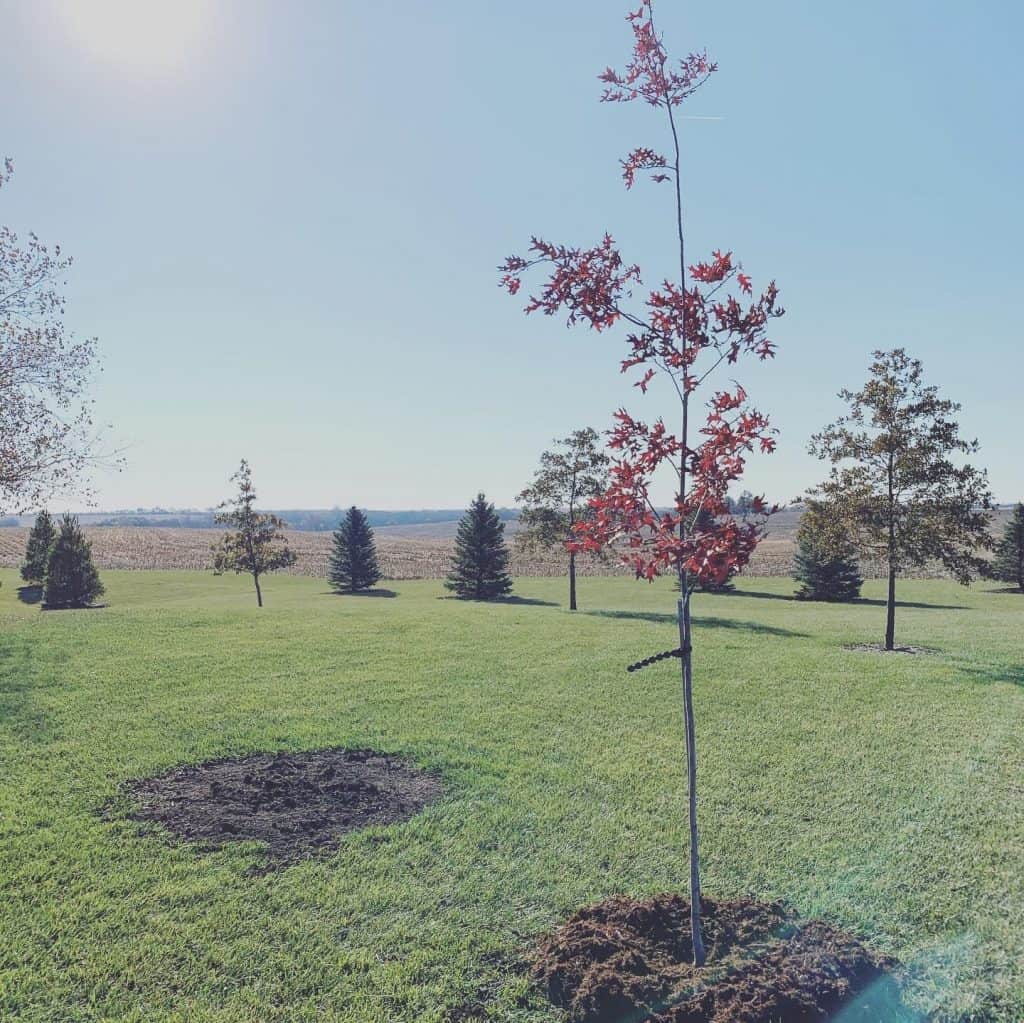
Place the root ball into the hole so that the top of the ball is even or slightly above the existing soil level. NEVER put the soil level of the root ball below the existing soil level (the root flare of the tree needs to be above ground level).
Fill in the hole around the root ball with as much of the soil you removed from the hole as possible, crumbling it up as you do so. Pack the soil in gently and firmly with your hands, do not stomp on the soil or use a hammer to compact it. You want the soil partly loose to add water in.
Once the soil is packed in and the tree trunk is straight, it is time for staking, watering, and mulching. Congratulations, the tree is planted!
Staking, Watering, and Mulching Your Tree
Staking
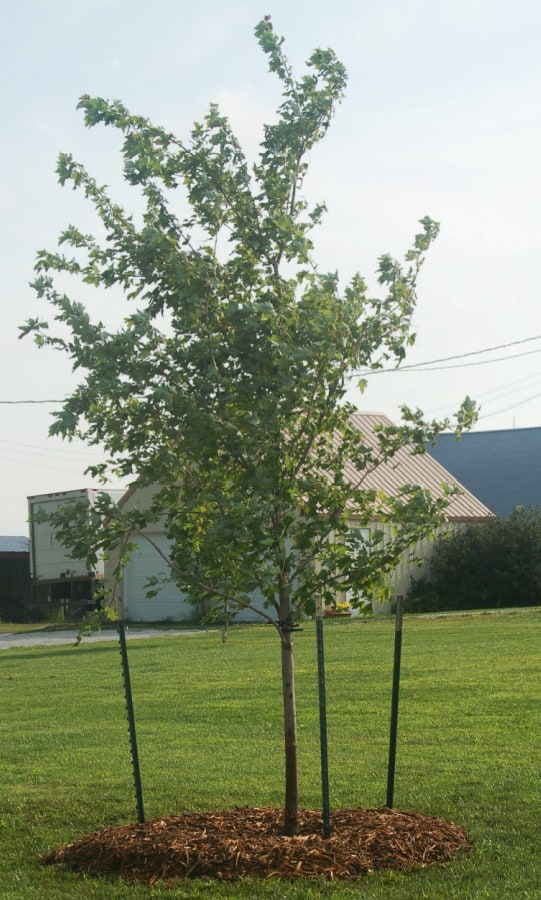
Now that your tree is planted, it is time to stake your tree. For large trees, with a diameter of 2 inches or more, and a height of 15 feet or taller, I recommend using 3 T-Posts. For smaller trees, a single fiberglass pole is sufficient.
When using T-posts, You should place them in a triangle, equal distance from the tree, at least 1 foot beyond the edge of the hole of the tree. Use wire placed through a piece of old garden hose or tubing to tie the tree to the stakes. The hose or tubing should be placed against the trunk of your tree, to prevent rubbing by the wire. See photos below.
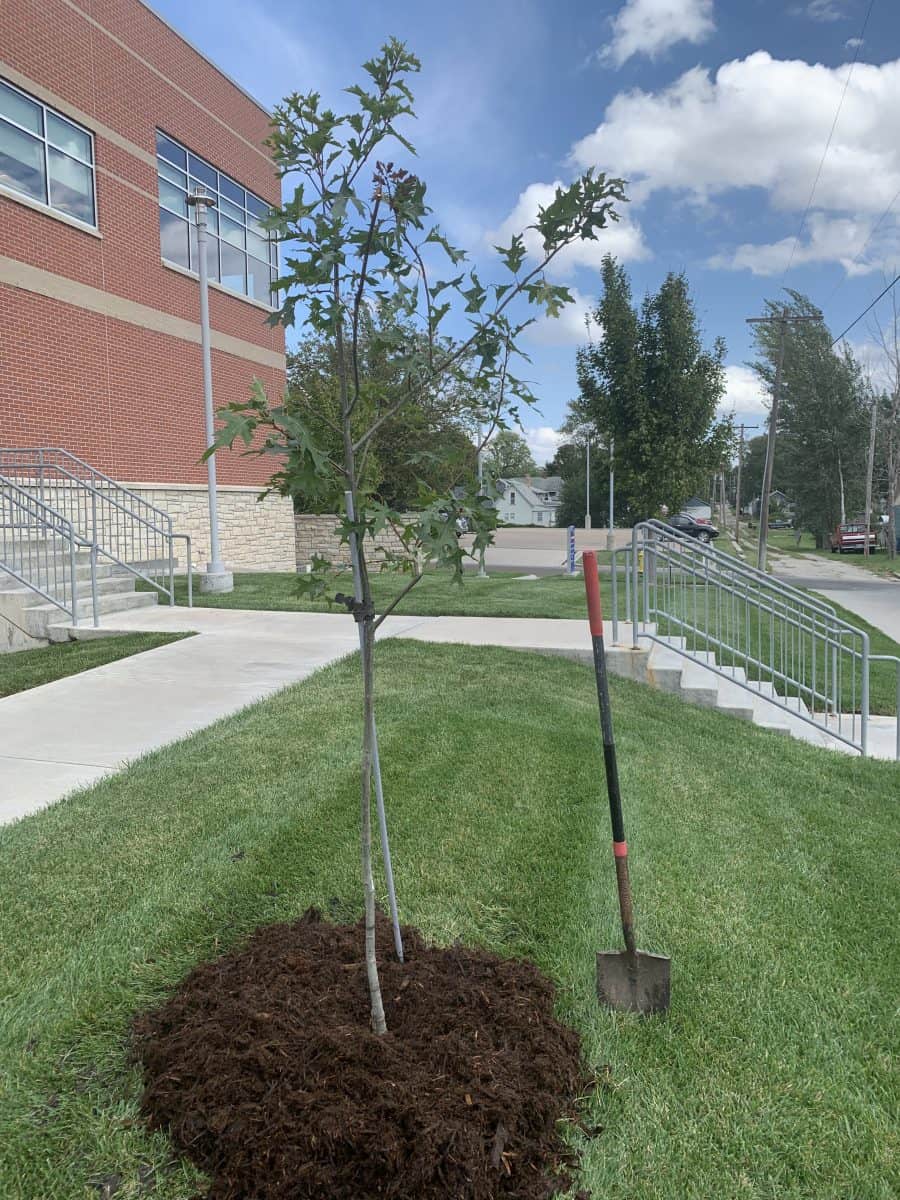
I prefer to use a single fiberglass pole and tree tie for most of the smaller trees I plant. Place the pole at a 65 degree angle to the ground, against the tree. Using a tree tie, secure the tree to the pole, with the tie between the tree and the pole.
Remove ALL tree stakes 1 year after staking. If the tree leans or is not rooted in, you can re-stake the tree for another 6 months to 1 year. Re-staking prevents the ties from digging into the bark of the tree.

Watering
I prefer to do watering after the tree is staked. This prevents the root ball from moving side to side as water settles the soil. Using a garden hose, first water around the edges of the hole for a few minutes. Then place the hose into the hole at the edge and down to the bottom. Keep the running water in until water comes out the top of the hole. Then remove the hose.
Now fill the settled area back in with soil and tamp down gently with your hands.
Water your newly planted tree daily for the first week, then switch to 1 time per week. I recommend that you put down at least 5 gallons of water each time. If you have a dry winter with little snow or rain, water trees planted within the last 3 years whenever the weather is warm enough (above 40 degrees F).
Mulching
This step is not often remembered by the customer in the nursery, we usually have to remind them about it. Mulching your newly planted tree is just as important as watering.
Your location in the country will suggest what is the best mulch to use. People in the southeast have access to locally sourced cypress, pine bark, or pine needle mulches. Those in the west may have cedar or redwood. Here in Kansas we have cedar or sawdust.
My favorite mulch to use here, is sawdust. This is not the leftover shavings from woodworking projects, but rather a finely chopped wood mulch that has been recycled from hog trailers. It has hog urine and feces mixed into it, but has been tested for diseases and found lacking.
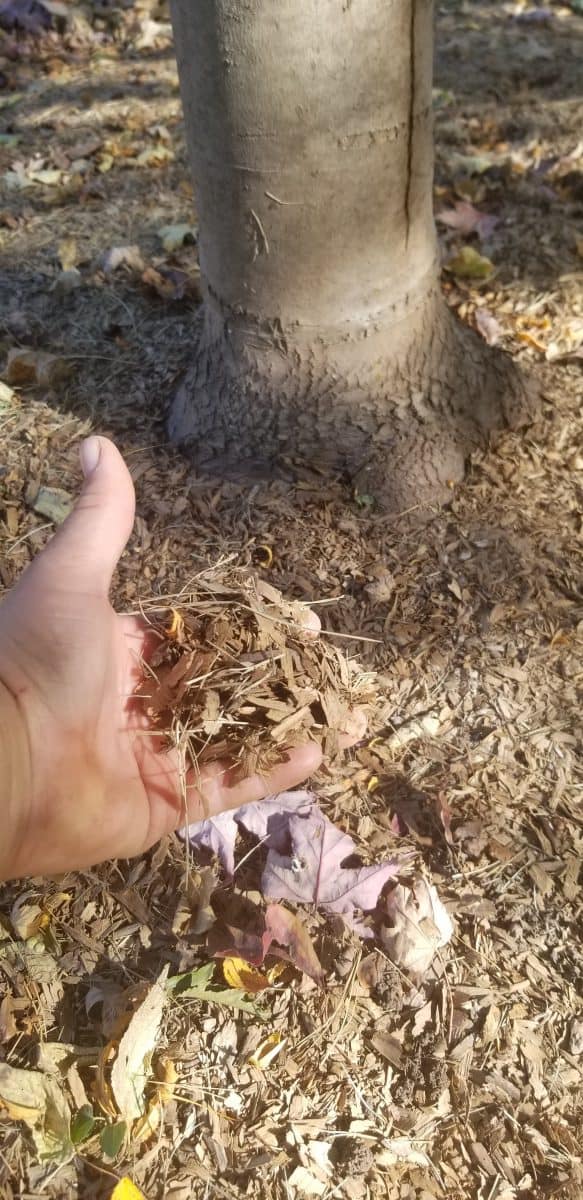
When you are mulching around your tree, layer the mulch 3 to 6 inches deep. Keep the mulch 3 to 6 inches away from the trunk of the tree. The mulch should not touch the trunk. This can lead to rot and fungal issues along the trunk, weakening the tree and possibly killing it.
Conclusion
Now your tree is planted and you will someday have shade! Trees are important for all of us; they produce oxygen, food, lumber, and much more. Keep planting trees!